
The Ikea backlog is almost depleted. I purchased the kit for this kitchen wall rail about 3 months ago, prior to kitchen wall painting.

Fintorp kitchen rail comes with two brackets and one 22.5″ rail
The system is expandable if you want to install a longer rail. My rail is going to be placed on the wall to the right of my stove which is just barely wider than a standard counter top depth, so one rail will work for me.
First we mark the location of the back plates (which will connect to the brackets) on the wall. I’m using a level to make the marks. It’s not easy to photograph yourself using a level.
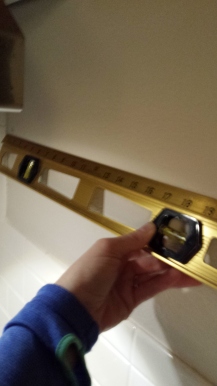
Me and my gigantic level
You will need your own wall fasteners for this project as Ikea does not provide any type of screw or anchor with their hardware. I like the Ikea Fixa fastener kit for this purpose. It contains 6 different types and sizes of wood screws and 3 sizes of wall anchor.
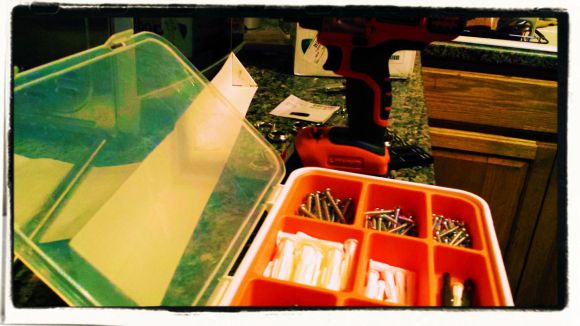
This is the Ikea Fixa hardware kit, sold separately.
It is unlikely that you will be able to locate two wall studs spaced 22 inches from each other so you if you have common drywall/gypsum board you’ll want to use a drywall anchor.
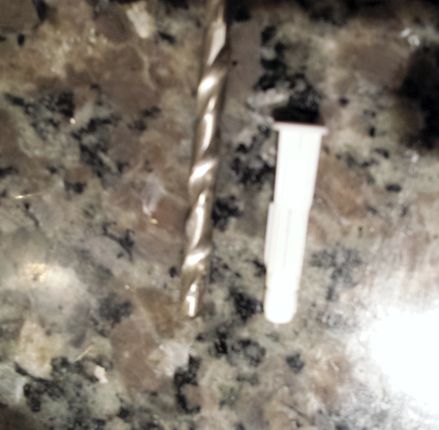
Medium size anchor and 7/16 drill bit
Choose a drill bit that’s slightly smaller than the diameter of your anchor. You’ll want to be able to insert the anchor, but you want it to be very snug.
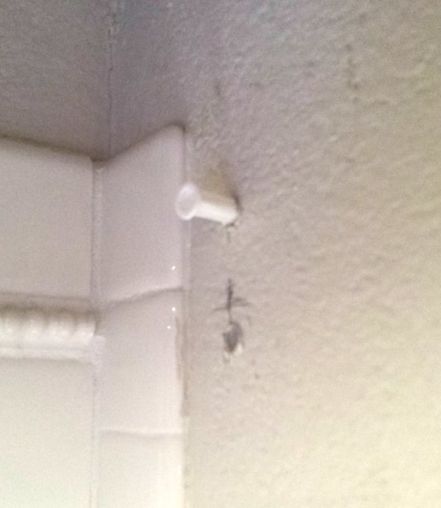
Anchor partially inserted into hole
Once the anchor is partially inserted, use a small hammer to tap it all the way in so it’s almost flush with the wall (but don’t squish it AND/OR damage your wall).
As the instructions below indicate (more or less) when you insert the screw into the anchor you’ll leave just a bit of space. Which allows you to slide the wall plate in snugly.
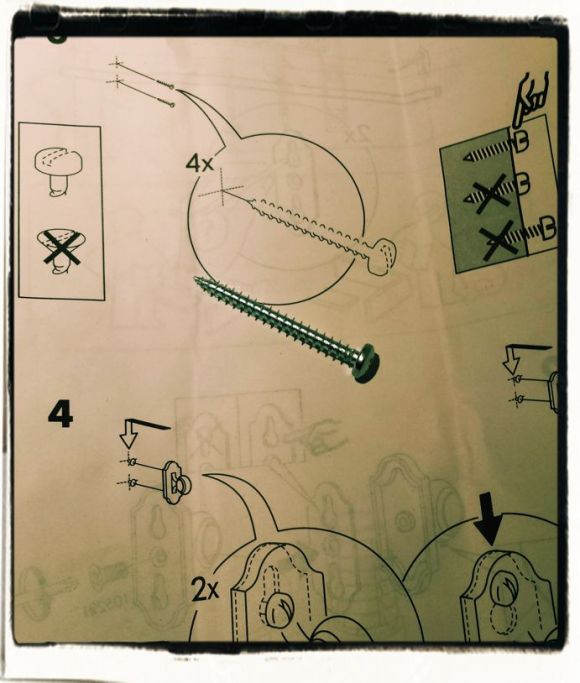
Ikea instructions featuring “ghost screw”, my screw is 1 1/2″. Note the head is domed and not flat.
We dry-fit the plate to make sure we’ve placed our anchors at the correct distance apart. Flat side out, beveled side in. Plate will slide in between the anchor and the screw.


Then we install the brackets, removing them a few times and adjusting the screws to make sure the fit is snug.
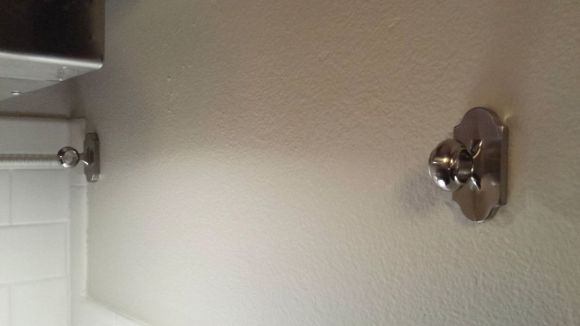
Tested for snug
Next we install the rail. Once the end of it is inside the far bracket (towards the back) I contort myself over the oven and place the end-cap on with my left hand. This will be easier to do if you are installing it on a portion of a wall that doesn’t terminate in a corner.
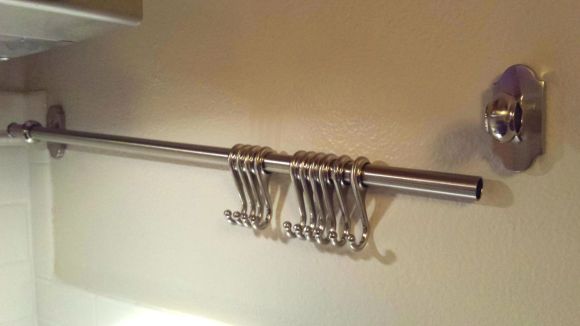
We leave one end off to add hooks.
Rather than the Cirque du Soleil-like moves I performed, you could also assemble the unit then attach it to the wall. But I like a challenge.
Now we insert rail into the other bracket and add the end-cap to the other side.
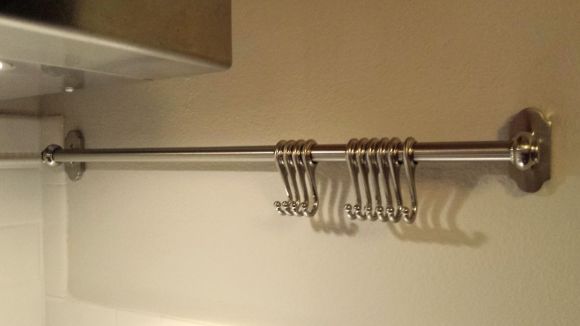
Voila! Relatively level.
Last step is to take your tiny hex-driver (allen wrench) and tighten the rails so they don’t slide (insert into hole at the bottom of each bracket).
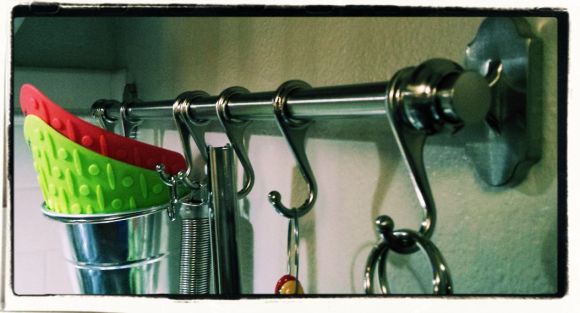
And here it is with useful kitchen stuff on it.
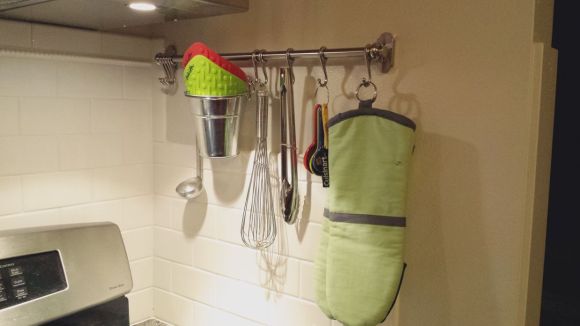
Cute Ikea bucket and 10 hooks. The hooks are sold in packs of 5.
One more Ikea project done! But I’m on a roll, so please stand by for my next Ikea kitchen project —tiny spice shelves–coming this week!

Ooooooh, Suburban Betty! Your level is sooooo big!
LikeLiked by 1 person
Jealous!!
LikeLike
What about plaster walls?
LikeLiked by 1 person
Hi, Lori! Good question. I waited to reply until I could do some research. Conventional “crusty guy” DIY advice-givers will tell you ONLY A TOGGLE BOLT will work in plaster. Toggle bolts are scary because you have to drill an enormous hole to insert them.
However, after some searching I found this product:
Toggler Alligator All-Purpose Anchor that will work in your plaster walls.
http://www.lowes.com/pd_125390-10337-50500___?productId=3183859&pl=1&Ntt=toggler
And here’s a link to the product page with a nice illustration of how to install the anchor http://www.toggler.com/products/alligator/overview.php
I hope this helps!
LikeLike
Ohh so cute and so simple!!!
LikeLiked by 1 person
Very simple! Yet the rails (I think) give a high-end look. Also very inexpensive.
LikeLiked by 1 person
Totally!
LikeLike
I love these!!!
LikeLiked by 1 person