
The Billys are up! Yes, the same Ikea Billy bookcases that have been lurking in their little flat-pack boxes in my basement since 2013 when I insisted that we purchase them RIGHT NOW.
Ikea Billys have been manufactured continuously for 36 years, and for the last 20 years their price is apparently unchanged. Google “Ikea Billy reviews” and you will find people who have kept their Billys for many many years.
My Billys are clear birch. Yes, they are essentially particleboard but they are covered in a veneer of real wood. The components are substantial and sturdy. The fastening hardware is magical.
Billy units come in four sizes: tall units are 79.5″ by 31.5″ or 15.75″, shorter units are 41.5″ high by 31.5″ or 15.75″. All units are 11 inches deep. Extensions add 13″ to the height. Units can be mixed and matched to fit your space and create a custom look.
We begin: there is nothing like the fresh promise of Ikea parts when you first lay them out on the carpet…
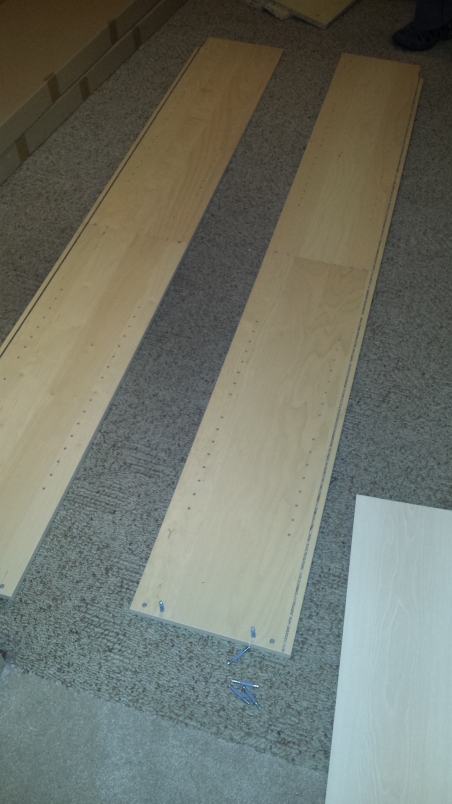
Billy Bookcase Sides
It is also extremely important to employ your local burly-man, particularly one who loves a mallet.

Burly-Man with mallet
Initial Billy building: this is the quintessential 31.5″ Billy.
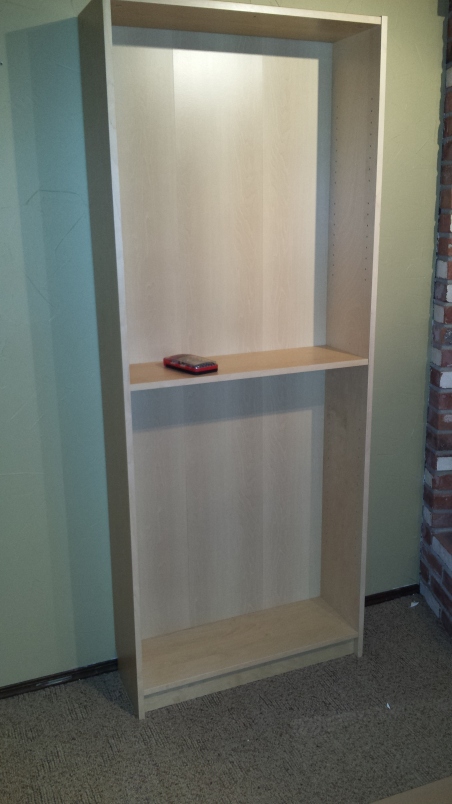
31.5″ Billy- The Flagship
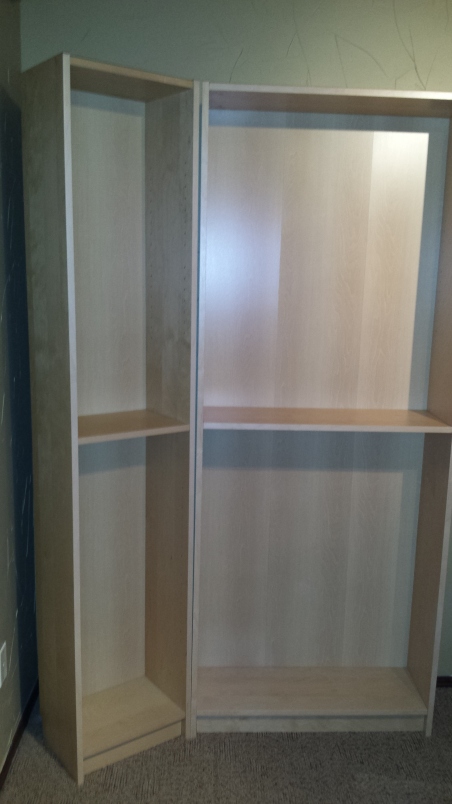
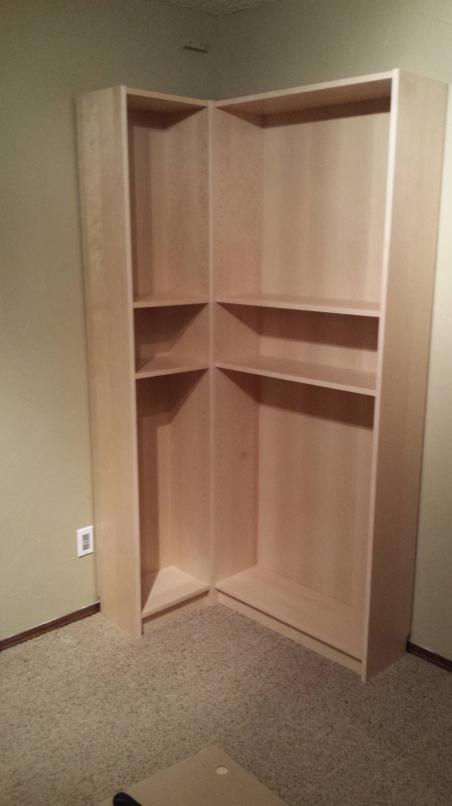
We add the second bookcase, a 15.75″ Billy. The idea is to create a corner bookcase. We try a few different configurations:
The Ikea corner solution (they sell a corner bracket for this set up. I bought the brackets. I cannot find them in the garage.)
Ikea-Style Corner with 45 degree angle
And here is option two- a basic L-shaped book nook.
Corner with 90 degree angle
We choose option two, it seems to fit the small area better. Now do this 2 more times. Then build the extensions. 80 million pegs later…
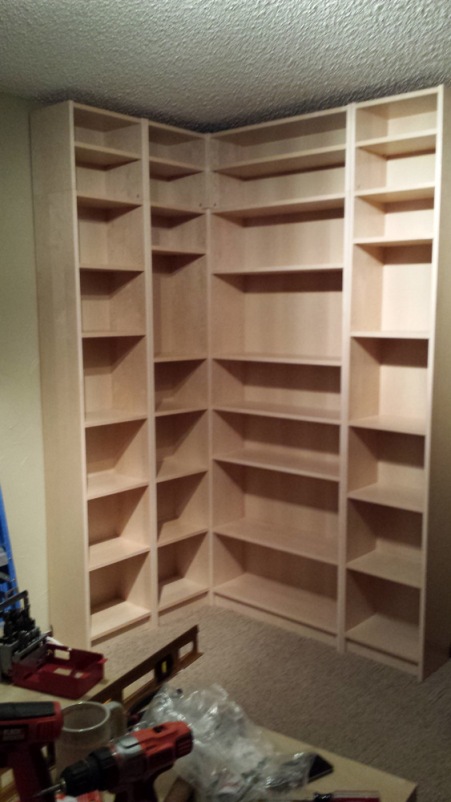
Built Billys with extensions on top
It is done.
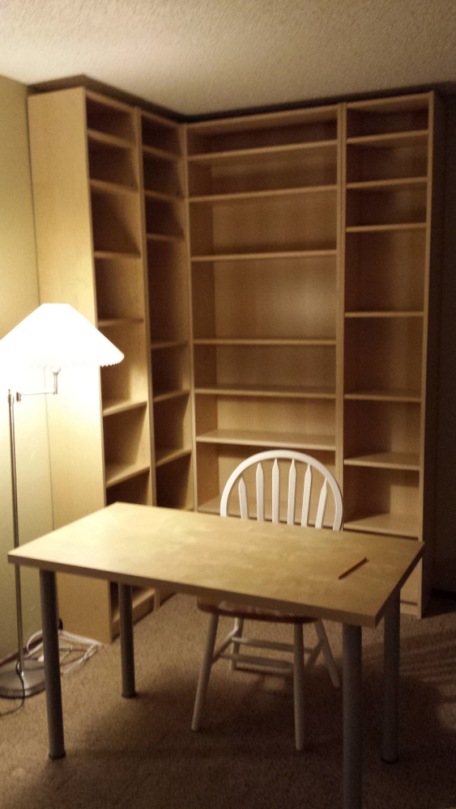
Billy area with desk (also Ikea) and lamp (also Ikea)
The Billys are fastened to the wall with included L-brackets. Ikea gives you screws and washers but not wall anchors. We used 1″ drywall anchors because that’s what we have. Obviously use the correct anchor for your wall.
We leveled the first unit on the far left, then fastened it to the wall. The next unit was leveled and placed flush with the first. The third unit was placed at a right angle and overlaps the second one slightly and the fourth is level and flush with the 3rd.
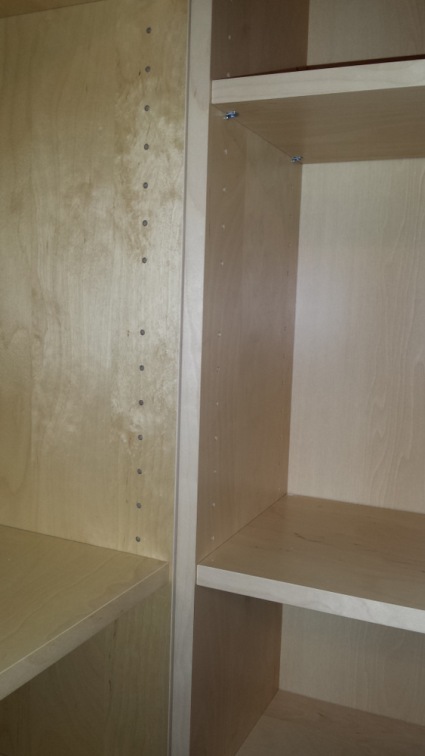
Billy Bookcase Sides, butted and slightly overlapped
The extensions are connected to the top of the bookcases with cam locks.
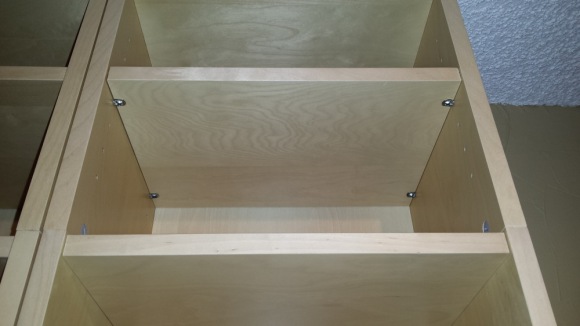
Extension on top of bookcase- cam locks visible on either side
The sides of the bookcases contain a cutaway in the back to fit easily over your baseboard trim (we thought we were going to have to remove the trim– yay!!).
You may have noticed in one of the earlier pictures that one of the bookcases covered up an outlet. We installed a low-profile flat plug extension cord and snaked it under the bookcase via the cutout channel.
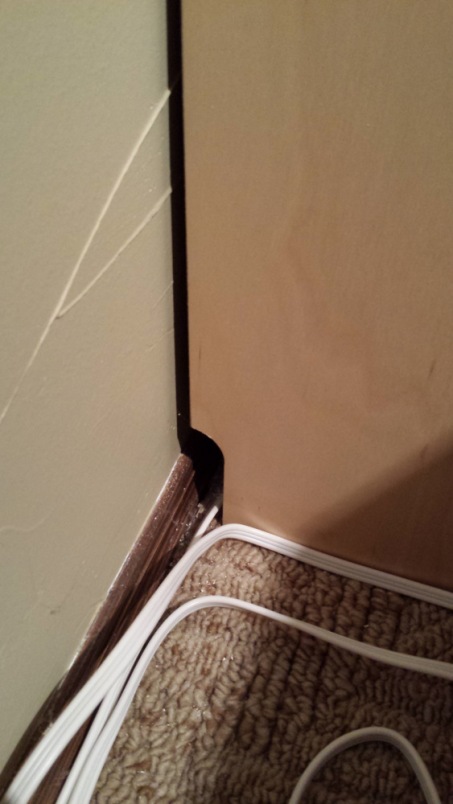
Cut-out for baseboard trim, extension cord is routed through
Next project entails installing trim pieces around the edges (between the Billys and the walls) and on the top (between the Billys and the ceiling) to make them look like a built-in unit.

These are awesome!!
LikeLiked by 1 person
Thanks, Burly-Man😃
LikeLike
[…] same Billys that have been lurking un-assembled in my basement for 2 1/2 years. Check it out at Hammer Down DIY […]
LikeLike
These are awesome. I feel inspired to inspire my burly man to finish my gazebo now.
LikeLiked by 1 person
Burly men like being inspired!
LikeLike
They look really nice in that corner. Lol my burly man, is hairy man…huge beard 🙂
LikeLiked by 1 person
Haha!! Burly men need beards, I think!
LikeLiked by 1 person